I was recently asked to write an article about how to take a great photo for a blogging website, and I thought you might be interested in reading it. I am by no means an expert, so if you have any top tips then I would love to hear them as I am constantly learning.
When I first started fashion blogging, I could write (kind of). I knew oodles about my chosen topic, having worked for over 10 years in the industry. Yet my photography skills were zilch. Yes I could snap on my Iphone and use a DSLR on automatic mode, but I had no idea how to make the camera do what I wanted it to. Good images can make a blog stand out from the crowd. They can help you build your Instagram following and attract brands to work with you. Realising this, I made it my mission to learn all I could about photography. I did a week long intensive course with a professional photographer, and for the past year have been taking photos everyday. So here are my 5 tops tips for creating a great image:

Understand shutter speed, aperture & ISO
You don’t need to become a photographic geek, but unless you understand the fundamentals you won’t be in control of the camera. Quite simply:
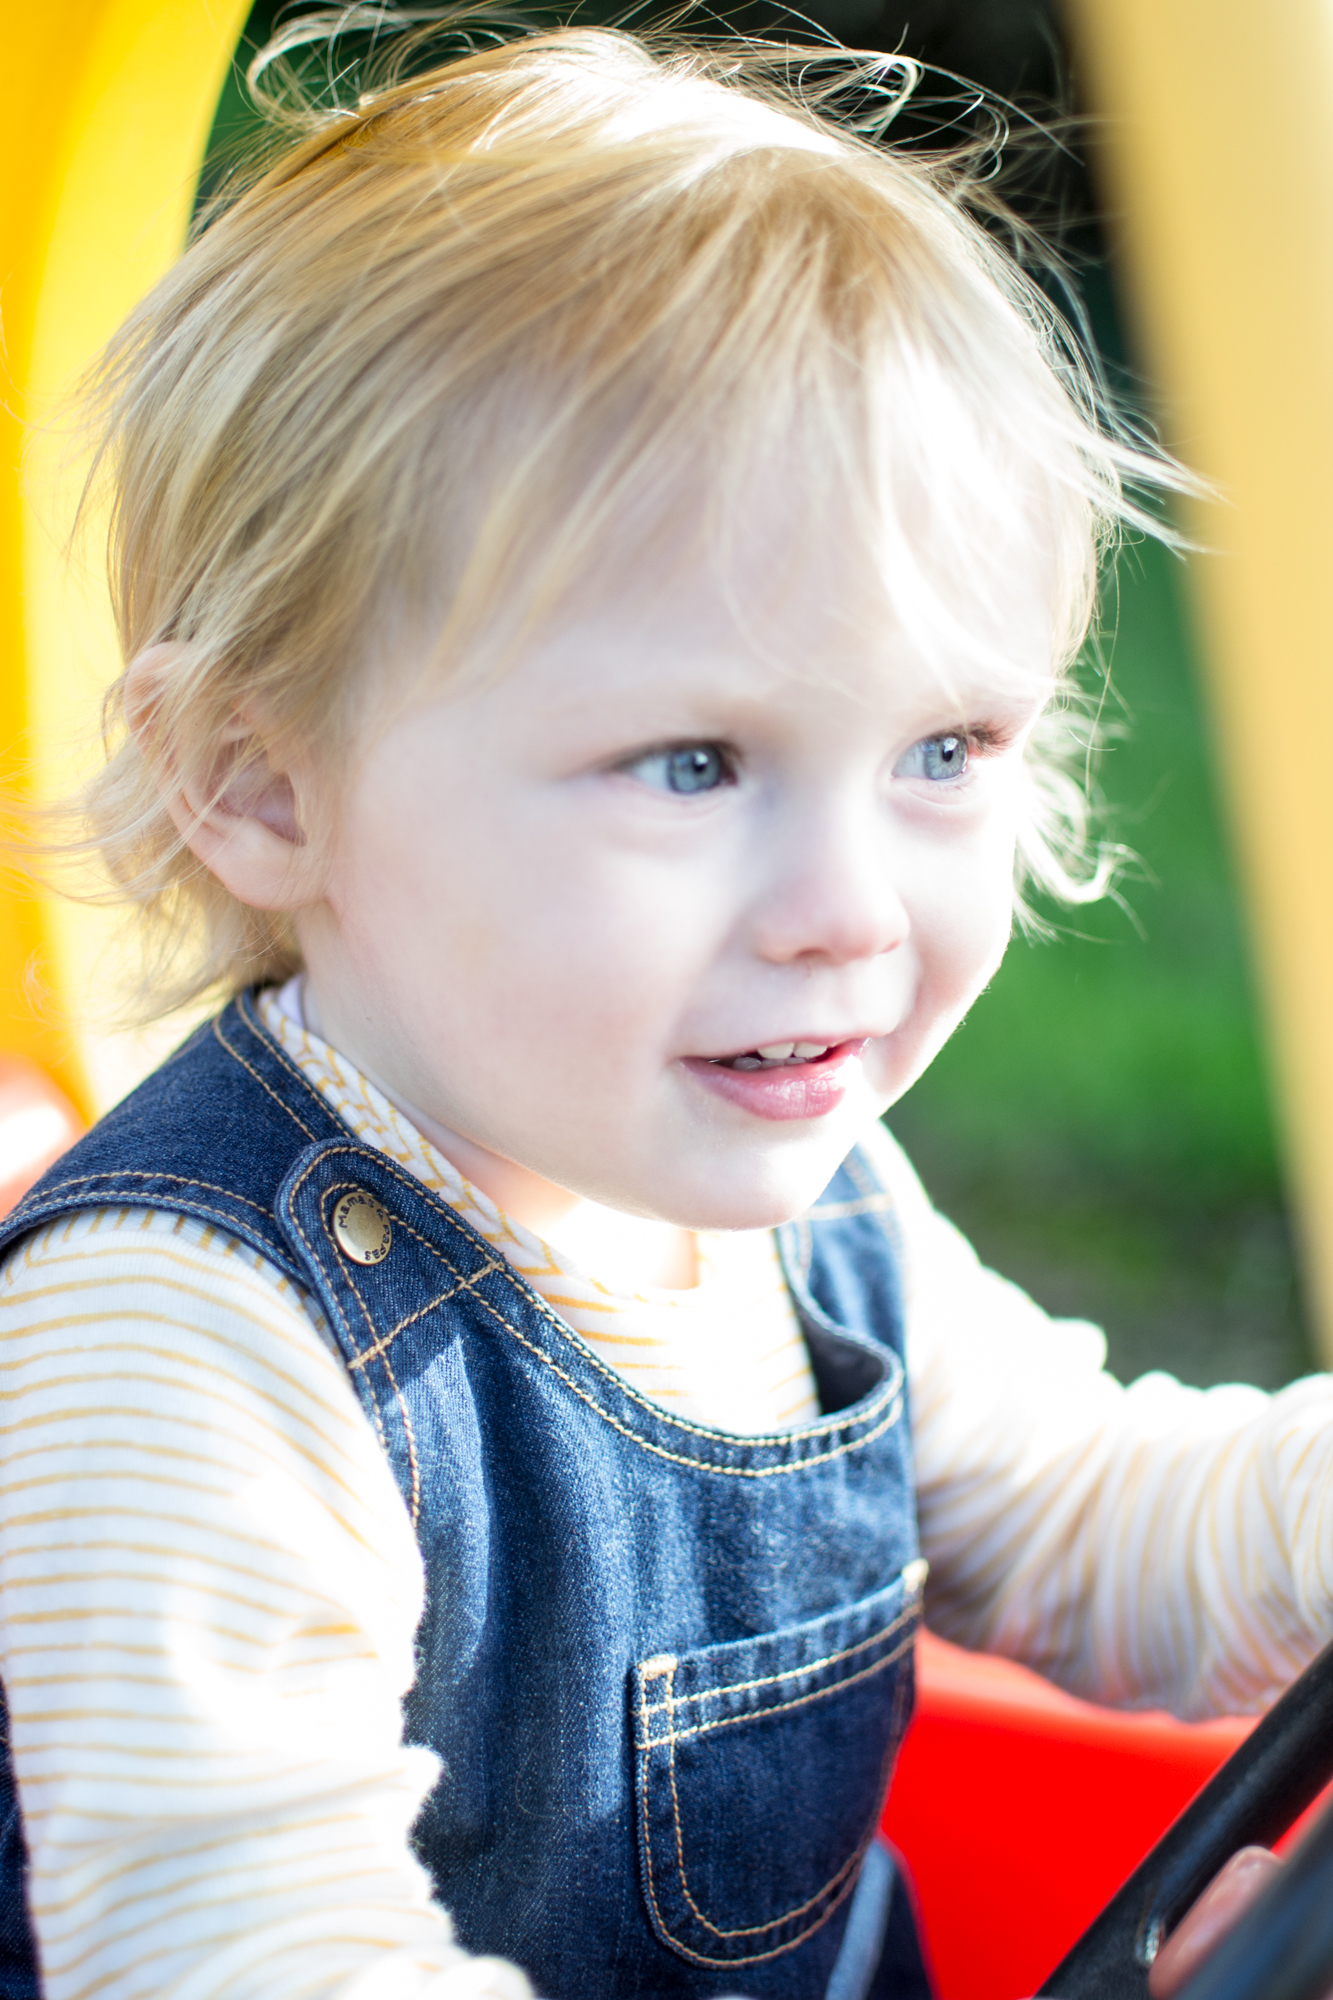
Shutter Speed = how fast the shutter opens and closes. If the camera shows the number 1/60 it means the shutter is open for 1/60th of a second. You need to consider what you are shooting. When I’m a taking photo of my daughter, I know she will move. In order for the photo not to be blurry I need to use a fast shutter speed, roughly 1/125 or faster. That said if I want to show movement in my photo, e.g. flowing water, then I need to slow the shutter speed down.
Aperture = the size of the opening letting light into the camera. The size of the aperture is shown on your camera as a number preceded by the letter ‘f’ e.g. f5.6. Counter intuitively, the higher the number the smaller the opening. The aperture is important as it controls the depth of field: a large aperture (small number , e.g. f2.0) gives a shallow depth of field, so the background to your subject is more blurry. Conversely, a small aperture will result in more things being in focus in your picture.
ISO = the sensitivity of the image sensor. The lower the number the less sensitive your camera is to light, and the finer the grain; the higher the number the more grainy your shot will appear. In natural light you want to use ISO 200-400. Inside you may need to increase your ISO (perhaps to avoid an excessively long shutter speed), but please note above 800 your pictures will look grainy.
Invest in a good lens
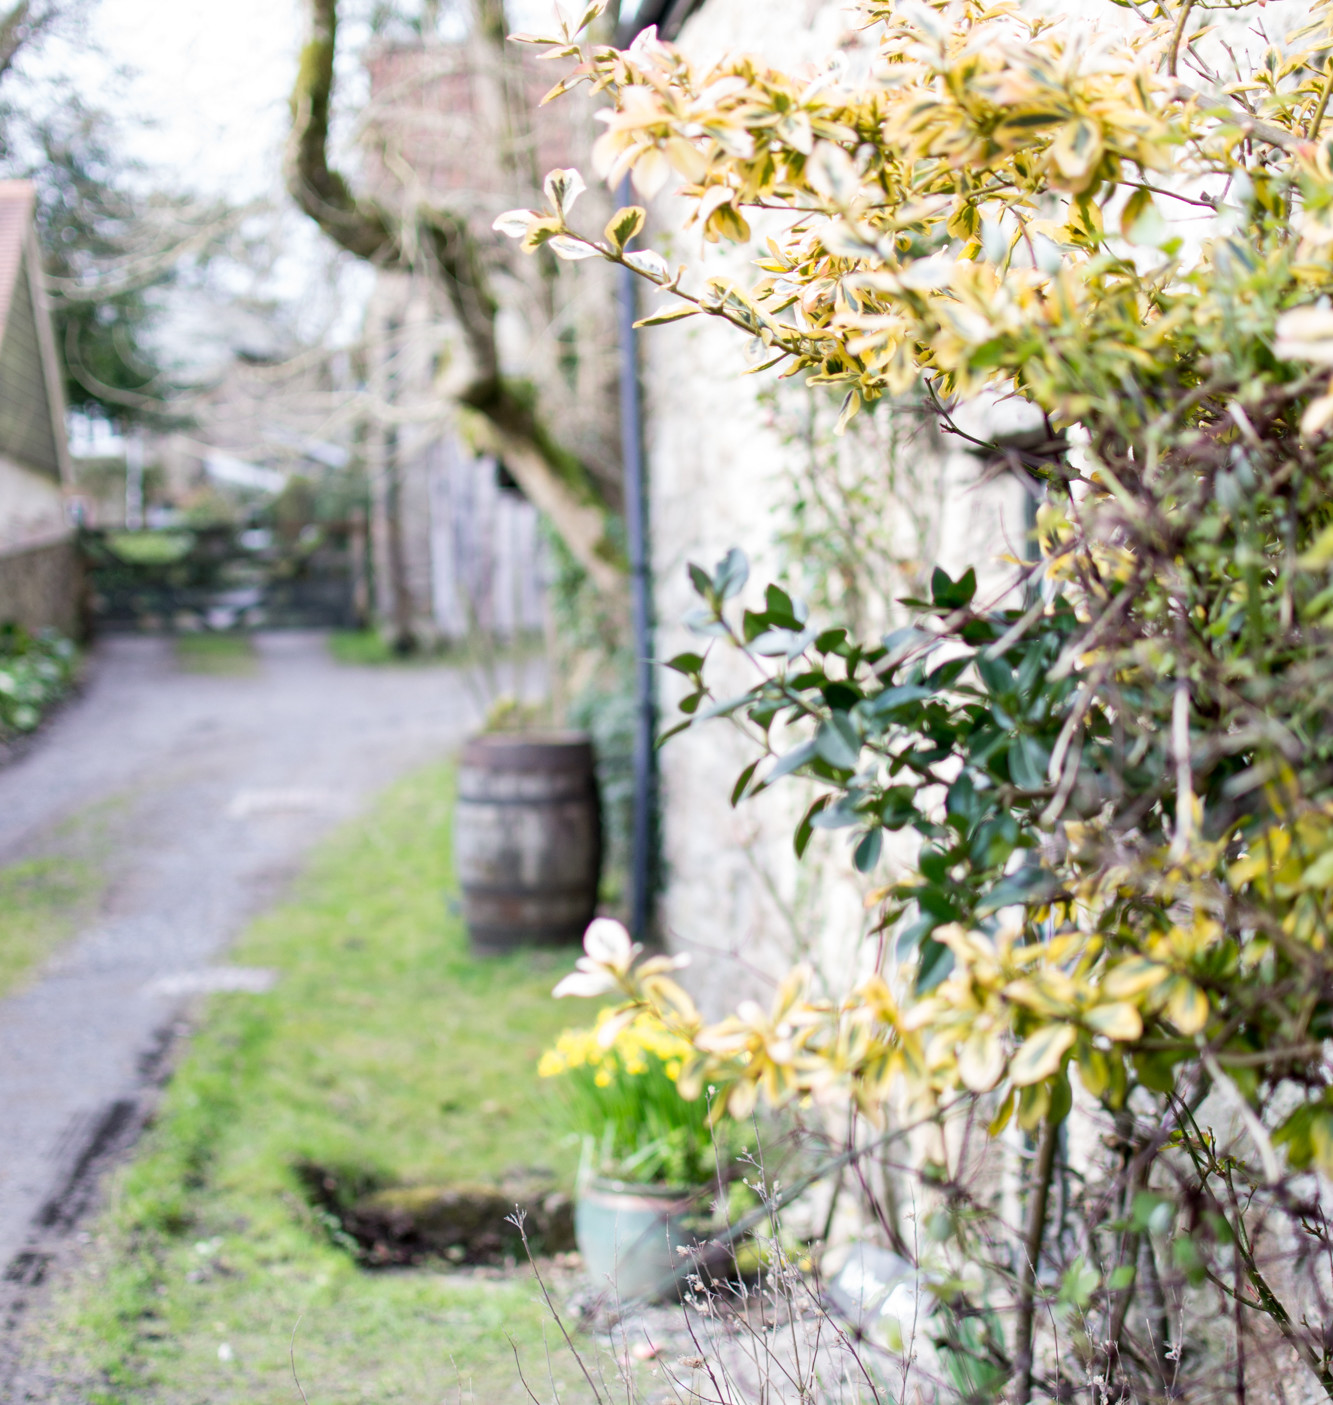
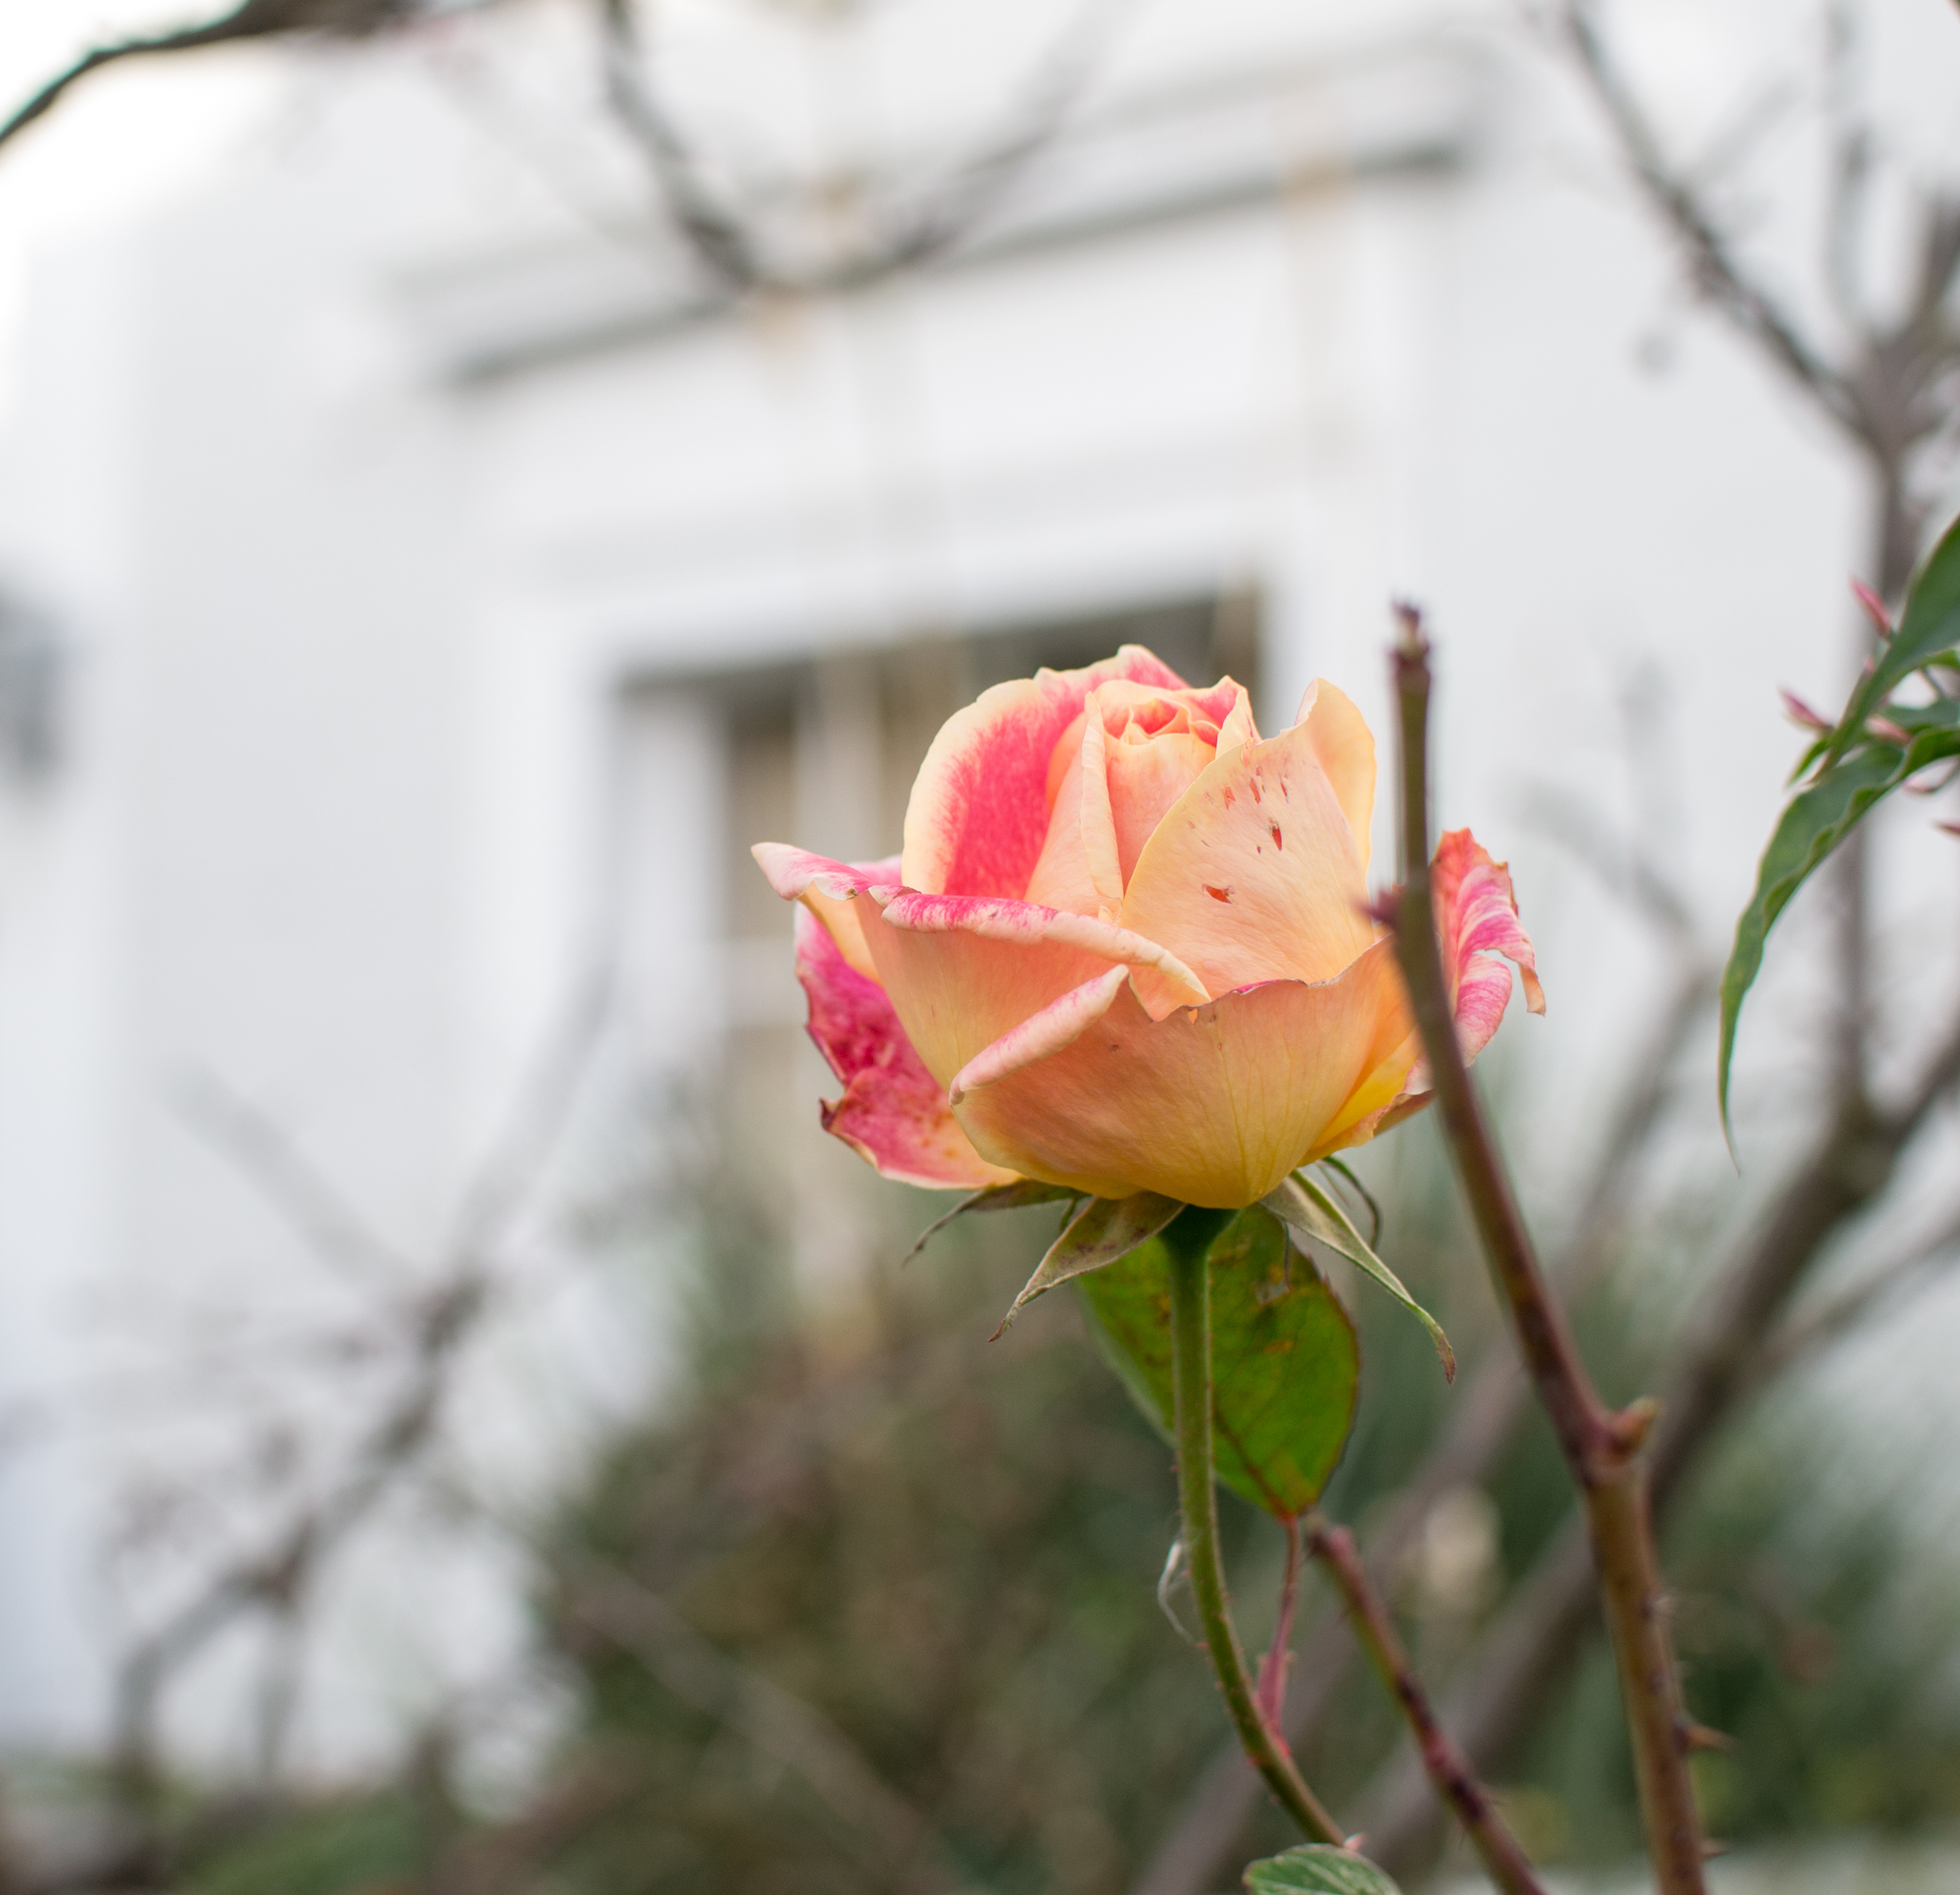
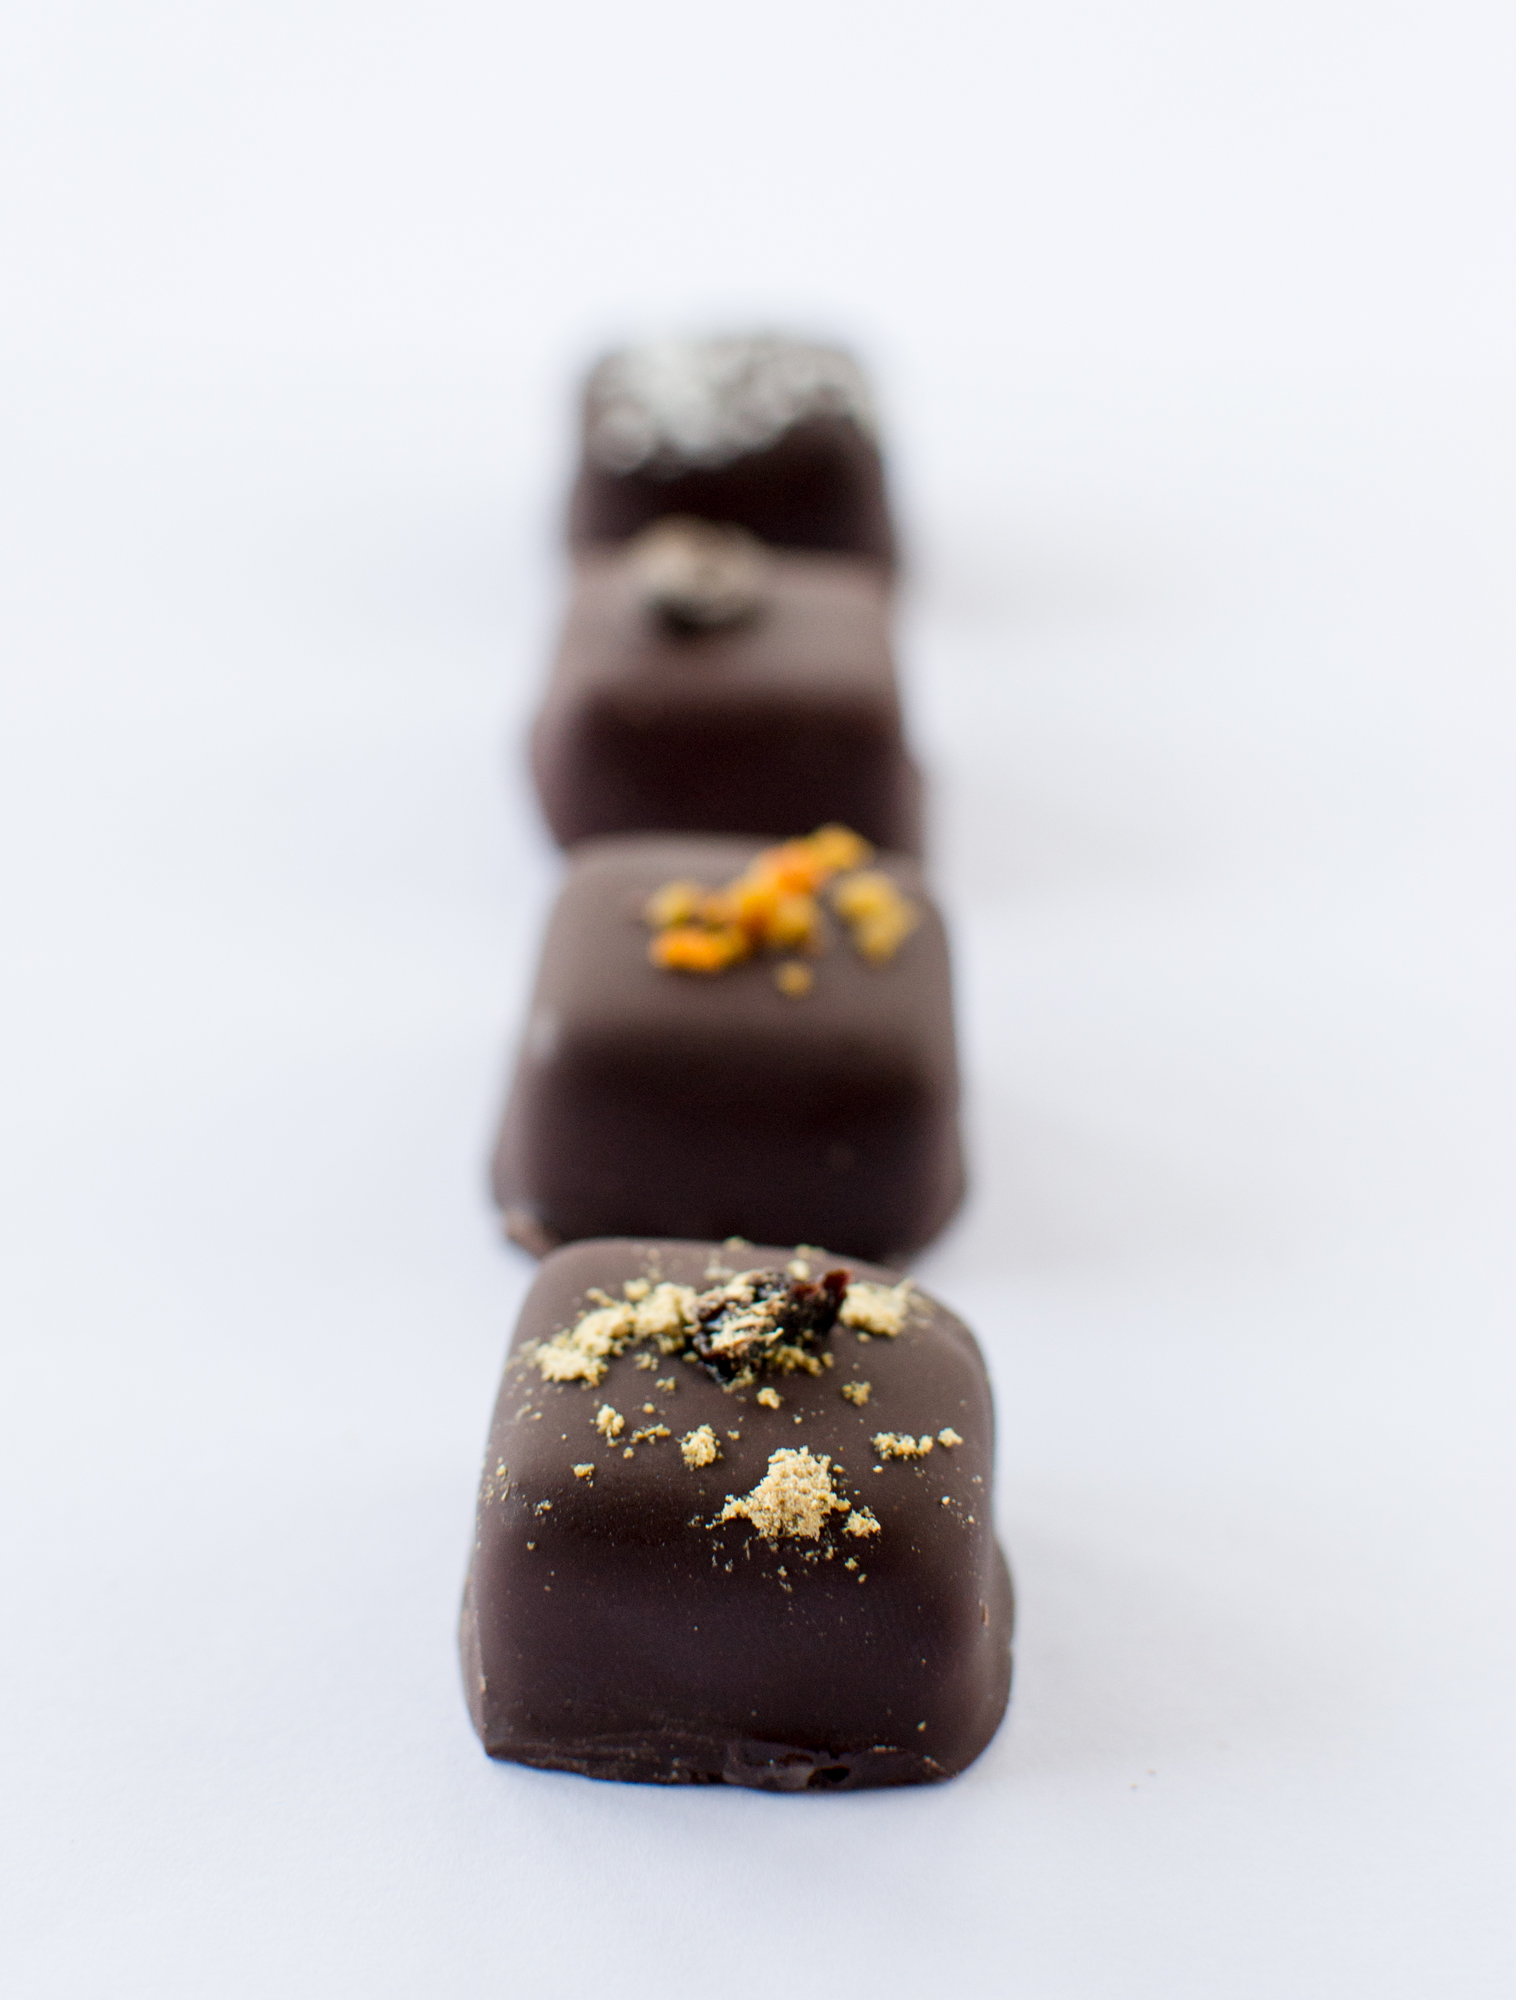
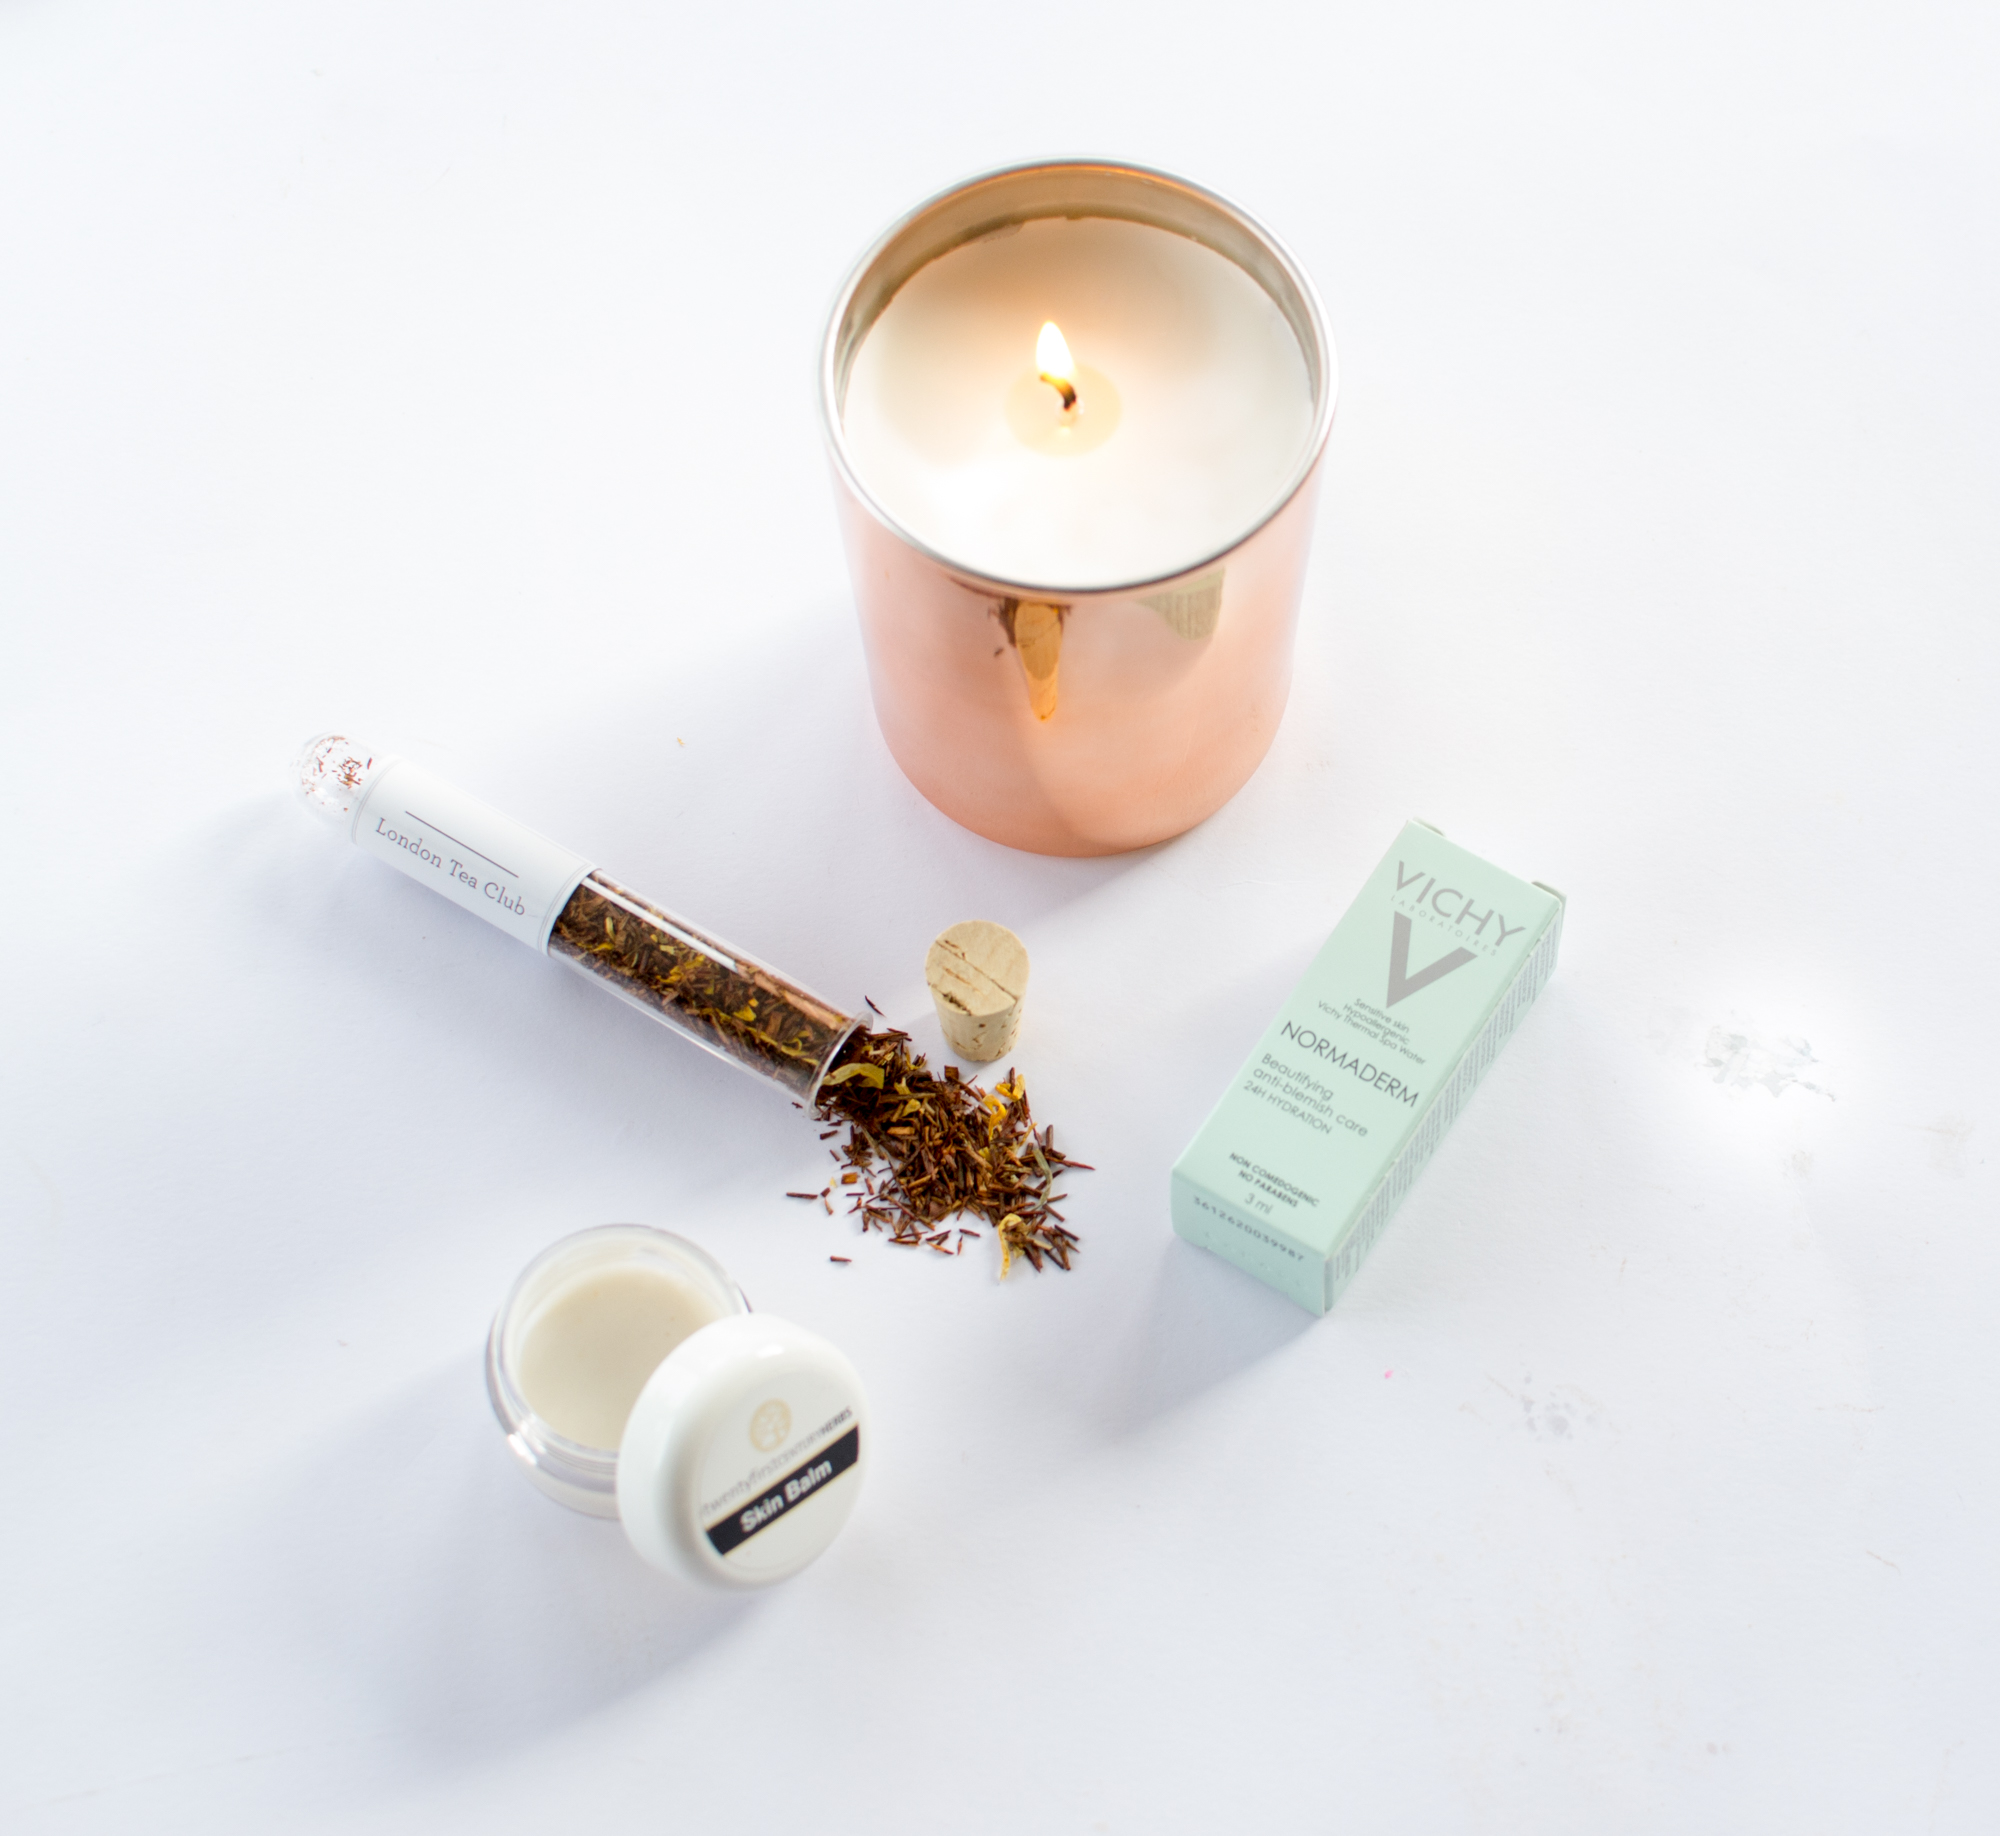
I love bokeh, a Japanese word that describes the aesthetic where the background of a photo is out of focus. To achieve this you need a lens with a shallow depth of field, so that the lens focuses on things in the foreground and all the things further back are out of focus. This can be particularly useful if you are shooting in a city and there are cars, drains and other people who you don’t want to draw attention to. The lens I use most often is 35mm f1.8 as I find it most natural in terms of photographing what the eye sees. Here are a few examples:
Work with natural light
I find the best time of day to photograph is first thing in the morning, or just before the sun goes down. At these times the light is softer and you don’t get harsh shadows, which can detract from your work. Most cameras are optimised for ISO to be used at 200, so I get my best pictures if I stick to using natural light. When you’re composing a shot, think about where the light is coming from, and how you can use it to make your shot more interesting. It could create interesting highlights to someone’s hair or soft shadows to contour the face.
 think about the Focus of your Picture
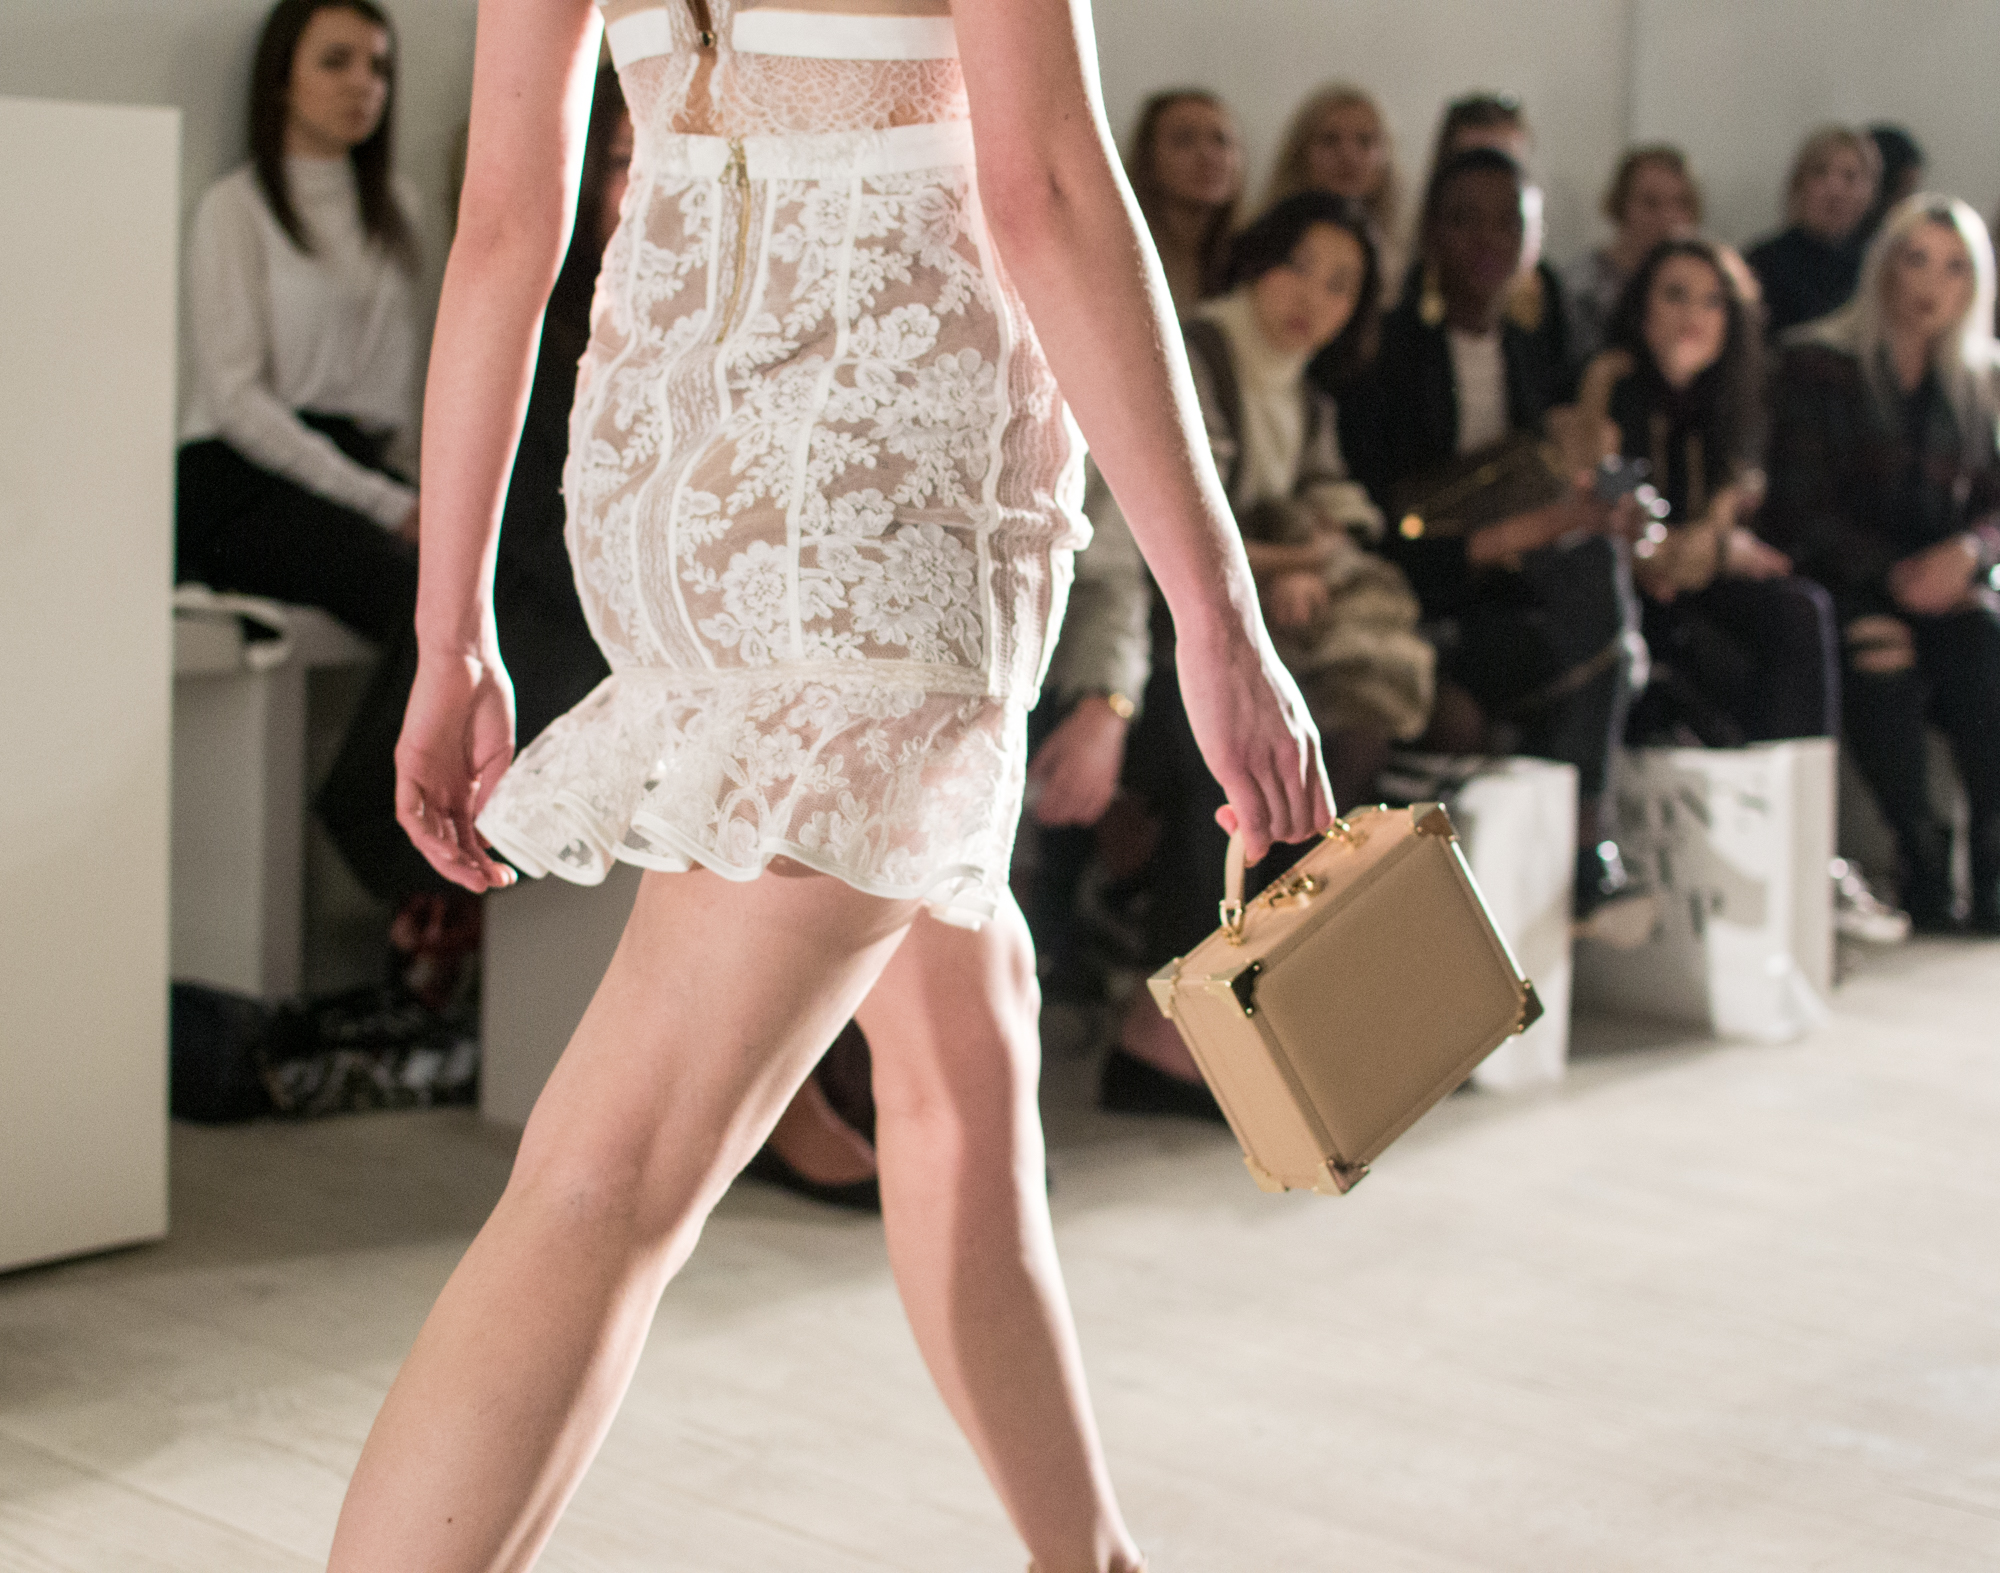
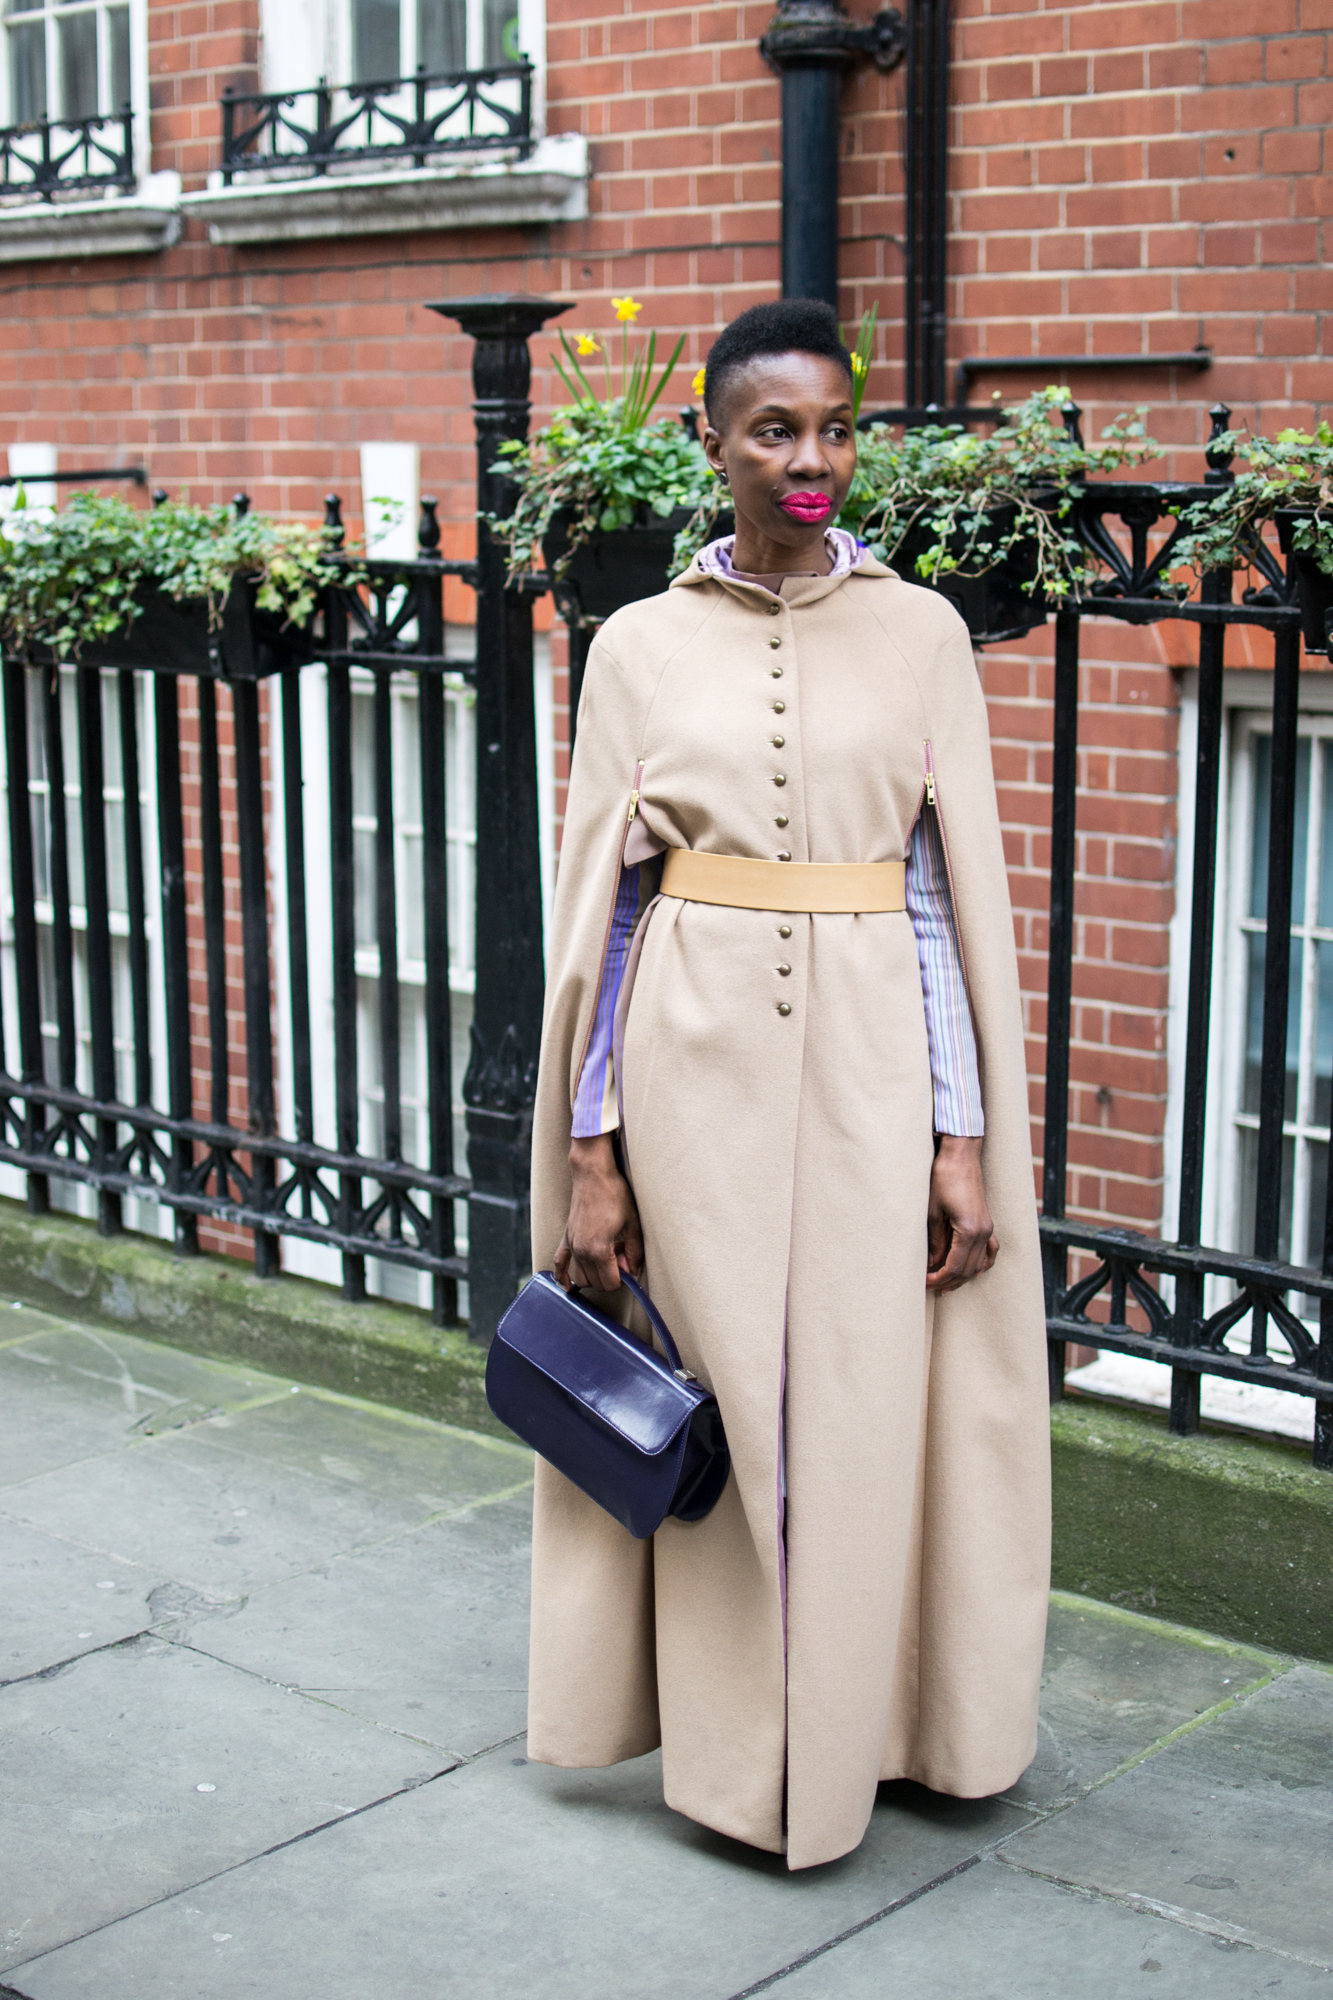
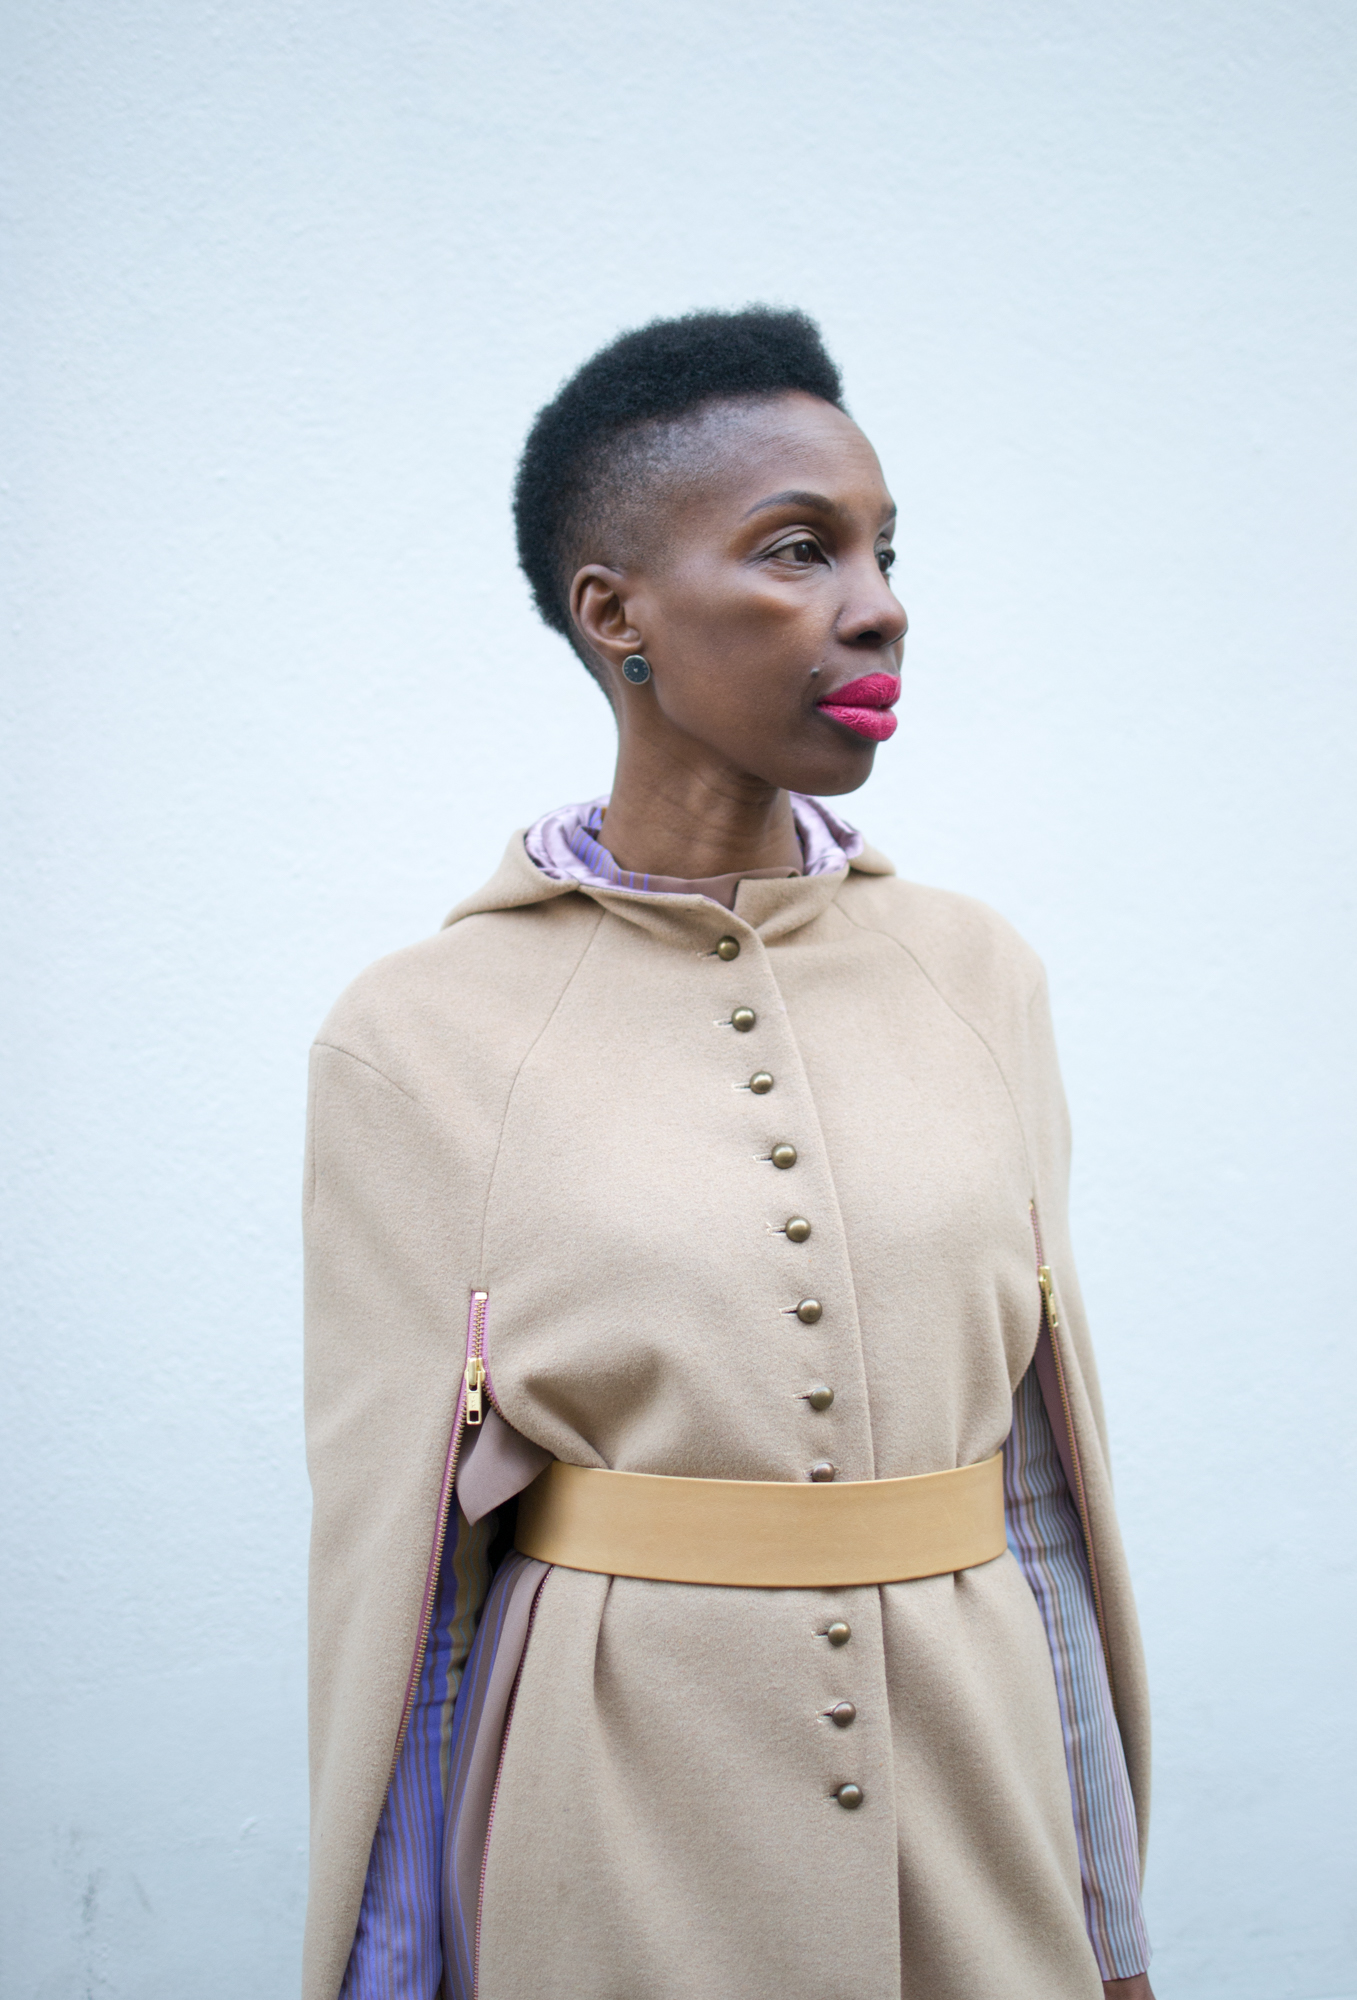
Before you take a photo, think about what you want the eye to be drawn to. What is the main focus of your picture? For example, if you are shooting an outfit post you want the outfit to stand out, so therefore you need to consider the background. If the background is too busy it will detract from the clothes even if you use a big aperture to create blur. These are pictures I took of a blogger and stylist, Bunmi of www.accidentalstatement.com, during London Fashion Week. In picture A the bright flowers, though a nice background, detract from the beautiful coat she is wearing. In picture B the plain wall helps the coat to stand out.
Picture A
Picture B Develop your own style
In the same way you have your own dress sense, you should have your sense of style when it comes to taking a photo. After all, a photograph is your view of the world. Someone should be able to look at a picture and know that you took it. This is particularly important for Instagram where consistency of style is essential for building a following. As well as having a passion for bokeh, I also love clean lines, subdued colour and geometric shapes, which reflects in my work.
If you don’t already, follow me on Instagram @n4mummy where you can see my daily experiments with photography.

Amazing tips Karen! Love learning about photography – can I ask what course you did?
Author
Thanks Abbie, it was at Marlborough Summer School lead by a guy called Michael Crockett http://www.michaelcrockett.com he’s been a professional photographer for the past 25 years and has worked for Elle Decoration, The Ritz, British Airways etc. Unfortunately it doesn’t look like he’s doing the course this year but do check next year as he normally does it every year summerschool.co.uk xx